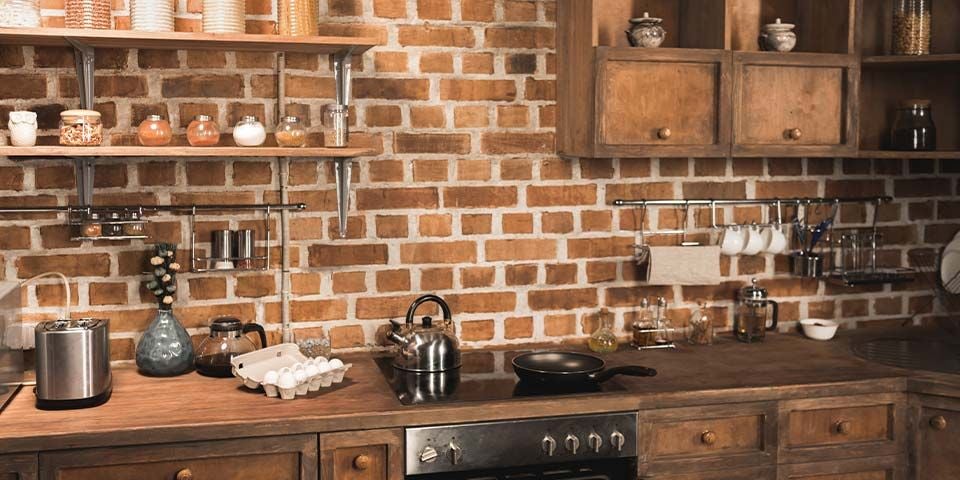
4 Easy Steps to Installing a Brick Backsplash

Installing a brick backsplash is not quite as simple as a tile backsplash because brick is a significantly heavier material and therefore requires stronger adhesive and more powerful tools.
Step #1: Prepare the space
In order to get the best grip between the brick tile and the wall, you’ll need to thoroughly clean it. Spray the wall with a cleaner fluid, wipe it down with a rag, then dry the wall with a fresh rag.
Make sure to turn off the electric in your working space and remove the outlet or switch covers that are located in the area where you’ll be placing the brick backsplash. Lay a drop cloth on the counter to catch debris.
Step #2: Determine the layout of your brick backsplash
Measure both the height and length of the area that you want your brick backsplash to cover then multiply the two numbers together in order to get the total square footage. Once you’ve got that area, it’s time to go to your local Batchelder and Collins to pick out and buy your brick! You should always purchase more than you think you’ll need in case of cracks and damages.
Lay several of the brick tiles side by side, placing a dowel rod between each in order to determine the grout line and how much space you should be leaving. Continue laying down brick tiles to determine how many you will need to cover the length of the wall. At that point, you can decide if you prefer them staggered, lined up straight, or a different style/pattern.
Step #3: Install the brick backsplash
As we stated earlier, you’ll need a stronger construction adhesive than regular tiles require. Insert the canister into the caulking gun then apply a wavy line of the adhesive to the back of one of the brick tiles. Place the tile on the wall and press it into place, holding it for several seconds.
Place the wooden dowel that you used earlier to determine the grout line and make a mark on the wall with a grease pen then place another brick in line with that mark. Continue doing this until the brick backsplash is in place in your desired pattern. Work one brick at a time, stopping at outlets and switches. Then place a brick without adhesive where you’ve stopped by the open outlet then trace the area on the brick. Using a tile saw, cut the brick in order to make it fit into the open space.
Step #4: Add the grout
Allow the bricks to set for at least a day in order for the adhesive to cure completely. Mix the grout in a bucket and then apply to the space between the bricks using a trowel. Use a rag to remove any excess grout between or on the face of the bricks. Allow the grout to dry then add a sealant.
Enjoy Your Backyard All Fall Long

Now is the perfect time to take advantage of autumn’s mild days to prepare your backyard for the cold months ahead. But who’s to say you can’t still enjoy your backyard, spending time with your family, and cooking outdoors all fall long.
"*" indicates required fields


