How to Restore Brick Pavers

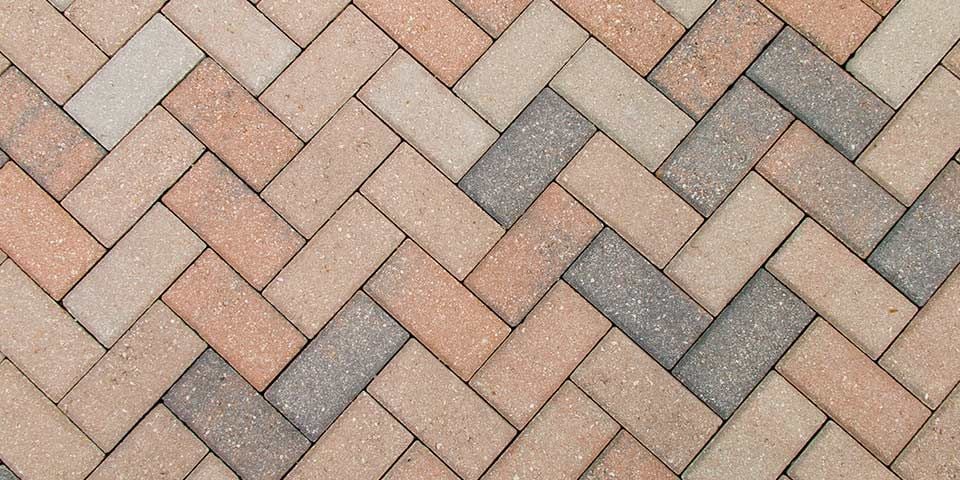
Brick pavers can be used to bring an elegant look to the exterior of your home when used on patios, pool decks, lining driveways, and sidewalks. Where they’re used actually plays a big role in the amount of fading they may endure as prolonged exposure to the sun, rain, and other outdoor elements can really damage their appearance. However, restoring your brick pavers is actually a pretty simple process that requires a bit of elbow grease. Here is a step by step guide on how to restore brick pavers.
Step #1: Clean the brick pavers
This cleaning process depends on how much and what type of organic growth is on the surface of your brick pavers. If there are no obvious signs of algae or mold growth, a simple power wash will do. You can use a long-handled stiff brush or broom to scrub away dirt and grime that may be visible. Add a mild detergent to the power washer in order to get the cleanest results then rinse the surface with water.
If there are obvious signs of mold or algae growth, however, you will need to purchase and use a more powerful cleaning solution. We stock a product called One Restore at both of our locations. This mild detergent is specifically formulated to remove dirt and mold from concrete and clay pavers without causing the color to fade. Follow the instructions on the package, allowing it time to set and dry.
If you find that the surface still looks dirty, you can use the same mild detergent as mentioned above. If you find that the surface still seems to have visible mold or algae growth, repeat this process.
Step #2: Replace damaged brick pavers
While you can certainly stop after step 1 if you were just looking to restore the color of your brick pavers, we recommend that if there are damaged bricks, you replace them now. Here’s how to do it:
- Remove the grout from around the damaged paver. You can do this by using a chisel and hammer to remove mortar grout or a wire brush to remove sand grout.
- Insert a pry bar on the side of the paver to scoop the brick and pull it out.
- Purchase a replacement brick paver in a similar color, size, and texture if you don’t have extras from the installation. (We’ve done an entire blog post on how to match bricks.)
- Use a wire brush to clean the opening where you’ve removed the brick.
- Place the paver in the spot then use a wood mallet to make it level with the rest of the surface.
- Add grout along the edges with a grout similar to what was used in the original installation.
Step #3: Seal the pavers
This is an optional step but sealing your brick pavers will ensure a longer-lasting appearance and protection. Once you’ve removed and replaced the damaged pavers and cleaned the entire surface, you can now seal the pavers. Wait for the concrete to thoroughly dry.
Wearing safety goggles and gloves, mix the sealer following the manufacturer’s instructions then apply a thin layer over the surface. Allow this to set for a few hours before applying a second, thicker layer of sealer and allowing that to dry untouched for 3 days.
Enjoy Your Backyard All Fall Long

Now is the perfect time to take advantage of autumn’s mild days to prepare your backyard for the cold months ahead. But who’s to say you can’t still enjoy your backyard, spending time with your family, and cooking outdoors all fall long.
"*" indicates required fields


