How to Properly Clean and Seal Pavers

When they go unsealed, they are subject to staining, fading, sand loss, and the development of weeds and mildew. However, by following these steps to properly seal and clean your pavers, you can ensure a long-lasting, beautiful, and durable life for your pavers.
Before you can seal the pavers, you have to thoroughly clean the surface of all dirt, oil, grease, paint, efflorescence, and previous sealers that might interfere.
Step #1: Remove all obstructions
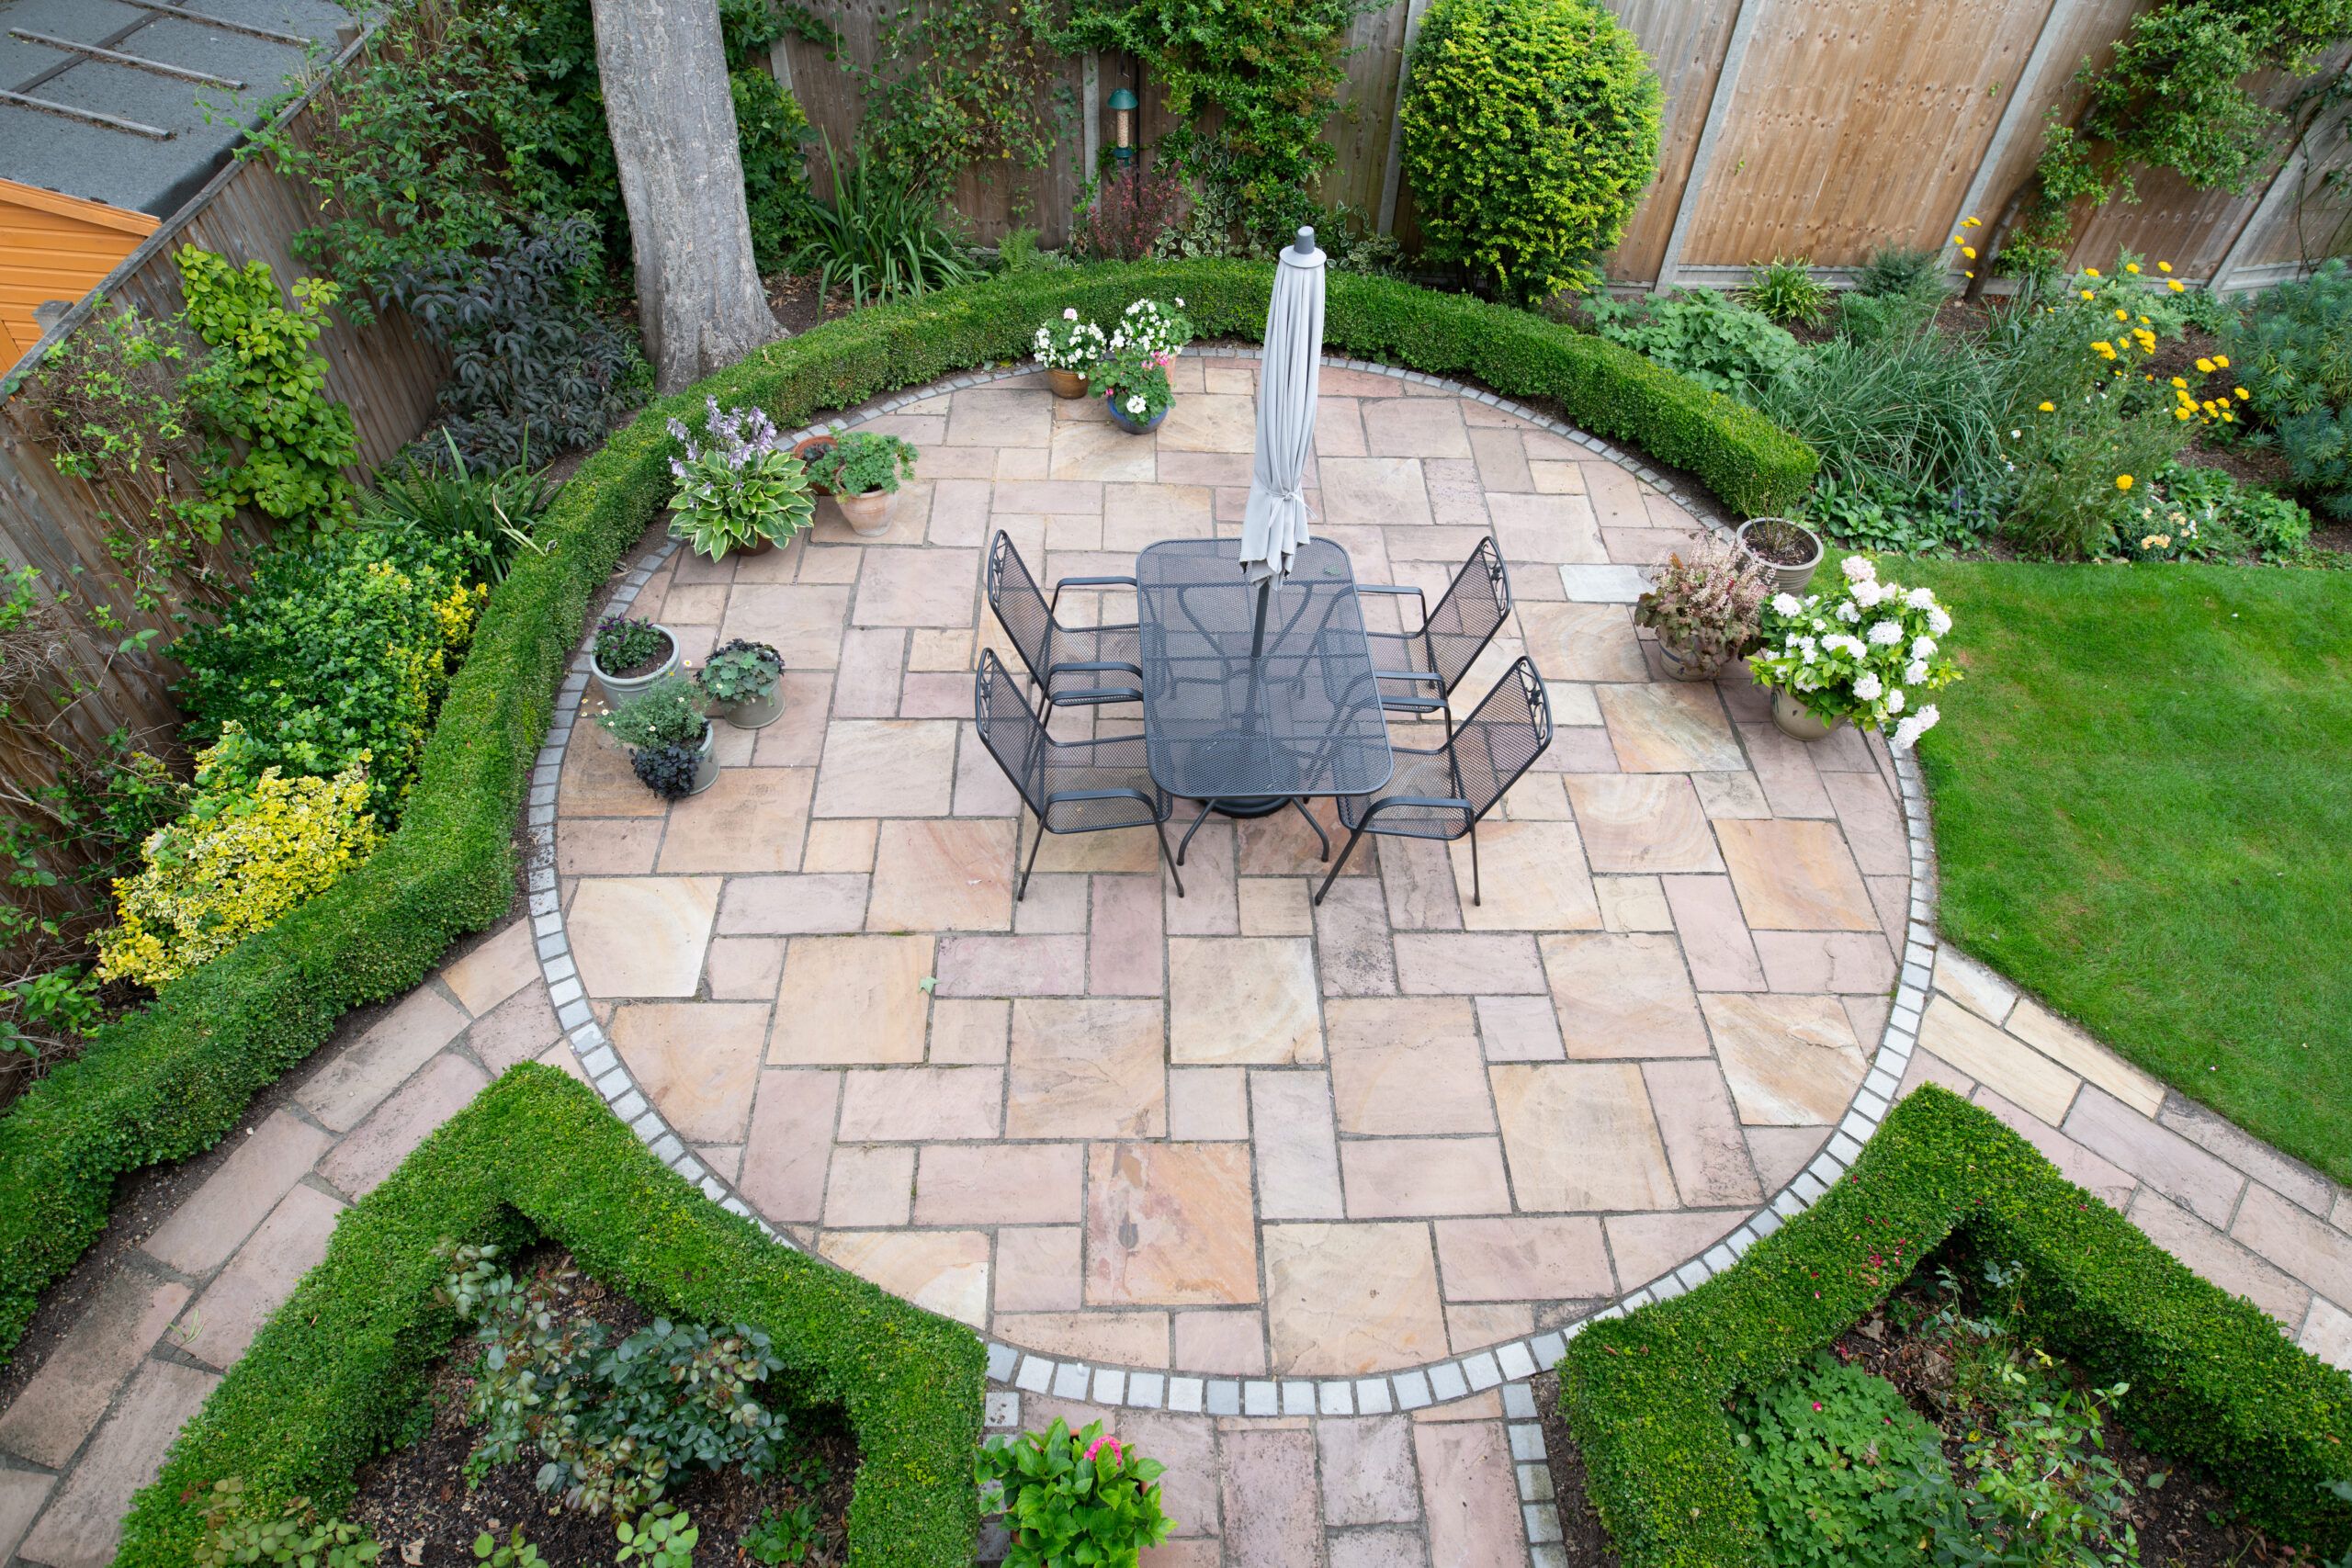
You’ll want to make sure that your pavers are completely clear of all outdoor furniture, potted plants, and any other obstacles that might get in the way of cleaning. You should also cover the nearby landscaping (grass and flowers) with a tarp in order to keep them from being damaged by the chemicals in the cleaning products.
Step #2: Clear out moss and weeds
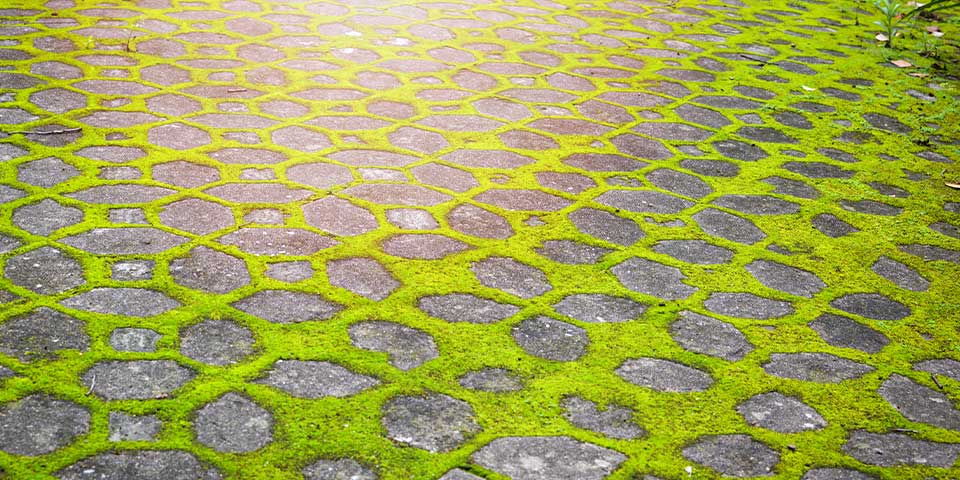
Using a handheld brush with stiff bristles, brush away any moss that might be growing on or between the pavers and pull the weeds out from inside the joints. Once you’ve loosened all the organic growth, brush that completely off the paved surface.
If it’s not possible to remove it by hand, spray the weeds with vegetation killer then wait at least 2 weeks before you clean and seal the pavers.
Step #3: Saturate the paver surface
Now that you’ve cleared away any vegetation, you’ll want to hose down the entire area with water before you apply any sort of soap or detergent to it. There’s no need to power wash the surface at this time, that’ll come later. At this point, they just need to be wet so they don’t soak up the cleanser and form a murky film.
Step #4: Mix up a mild cleaning solution and apply
As durable as brick is, it’s also a fragile material that can be severely damaged if you use harsh chemicals to clean it. Start by thoroughly mixing up a bucket of warm water and a mild degreaser detergent. Once you’ve got that all mixed up, pour some onto the paver surface and use a stiff-bristled broom to scrub it, working in small areas.
As you work in small sections, the broom bristles will loosen up dirt and stains on the surface, but the bristles can also be harsh on the pavers so make sure you are scrubbing in different directions to avoid wearing down the same spot.
Step #5: Rinse away the cleaning solution
Once you’ve finished scrubbing, gently rinse away the cleaning solution with clean water from a regular garden hose or a power washer to blast away especially stubborn stains.
Step #6: Allow to dry then re-sand pavers
You’ll most likely notice that the sand between the pavers is low now and could use a touch-up. Once you’ve allowed the pavers to dry completely, pour a small amount of polymeric sand onto them, sweeping the sand across the paved surface in multiple directions with a dry broom. Continue this process until the joints are filled.
Finally, set your hose to mist water and spray over the pavers, allowing the sand to settle in between the paver joints. You don’t want to completely saturate the pavers as this will wash away the newly laid sand; just enough to move the sand into the joints and pack it in.
Step #7: Apply the paver sealer starting at the edges
The sealer that you select for your pavers, bricks, or other type of sand set pavement material depends on the finished look you’re going for and the extent of stain-resistance that you require. You should allow newly manufactured concrete pavers to cure for at least 14 days before sealing them and make sure to follow the instructions provided by the paver manufacturer.
Now that you’re all set to apply your paver sealer, start by applying the sealer to the edges of the area with a small, clean brush before you start covering the entire surface. Do the same for the nooks and crannies that the roller brush may not be able to reach effectively.
Looking for cleaning and sealing supplies in Hampton Roads? Check out our inventory here.
Step #8: Apply two coats of sealer
Pour the sealer into a paint roller tin and use a long roller brush to apply the sealer onto the paver surface. Make sure you’re working in sections that’ll keep you from getting trapped in a corner. Follow the sealant instructions on how much drying time to allow after the first coat then apply the second coat. You’ll know the pavers are absorbing the sealant properly when the pavers start to darken in color.
You’ll also want to keep the sealer from pooling in any areas on the surface; if you notice this happening, simply continue spreading the sealer with your roller brush.
Step #9: Allow to dry then replace furniture
Again, you should follow the instructions on the specific sealant that you chose, but the sealant needs to be left untouched for at least 24 hours.
When it’s completely dry, you can move the furniture and potted plants back onto the pavers and remove the tarp from the surrounding area.
For more information, contact us today.
Enjoy Your Backyard All Fall Long

Now is the perfect time to take advantage of autumn’s mild days to prepare your backyard for the cold months ahead. But who’s to say you can’t still enjoy your backyard, spending time with your family, and cooking outdoors all fall long.
"*" indicates required fields


