Skip to main content
Menu
Home
View All Products
Bricks
View Bricks
Residential Bricks
Old Brick Originals™ Thin Brick
Fire Bricks
Chimney & Fireplace Repair
Hardscapes
View Hardscapes
Natural Hardscapes
Wall Systems
Outdoor Fire Pits
Clay Pavers
Concrete Pavers
Porcelain Pavers
Veneers
View Veneers
Manufactured Stone Veneer
Natural Veneer
Old Brick Originals™ Thin Brick
Lath
Masonary
View Masonry
Concrete Block
Glass Block
York Building Products
Accessories
View Accessories
Vents and Doors
Clean and Seal
Mortar, Cement & Concrete
About
About Us
Our Staff
Testimonials
Service Areas
Projects
Locations
View Locations
Norfolk
Williamsburg
Blog
Contact
Products
Hardscapes
Natural Hardscapes
Wall Systems
Clay Pavers
Outdoor Fire Pits
Concrete Pavers
Porcelain Pavers
View All Hardscapes
Stone Veneer
Manufactured Stone Veneer
Natural Veneer
Old Brick Originals™ Thin Brick
Lath
View All Stone Veneers
Bricks
Residential Bricks
Old Brick Originals™ Thin Brick
Fire Bricks
Chimney & Fireplace Repair
View All Bricks
Masonry
Concrete Block
Glass Block
View All Masonry
Accessories
Vents and Doors
Clean and Seal
Mortar, Cement & Concrete
View All Accessories
About
Our Staff
Testimonials
Service Areas
Projects
Locations
Norfolk
757-625-2506
2305 Granby St,
Norfolk, VA 23517
Williamsburg
757-220-2806
197 Ewell Rd,
Williamsburg, VA 23188
Open to the public Monday-Friday: 7 AM – 4:30 PM
Blog
Top Categories
Brick
Masonry
Pavers
Concrete Pavers
Fireplace
View All Posts
Latest From Our Blog
Our Guide to Refreshing Your Brick Fireplace in 2023
How Do You Repair Loose Bricks?
Different Types of Retaining Walls and Their Purposes
Contact
757-625-2506
Learning Center
Featured Articles
As VA’s leader in brick and stone, Batchelder & Collins has everything you need for exciting home projects.
Contact Us
Home
»
Blog
»
Featured
September 15, 2022 | Brick, Featured
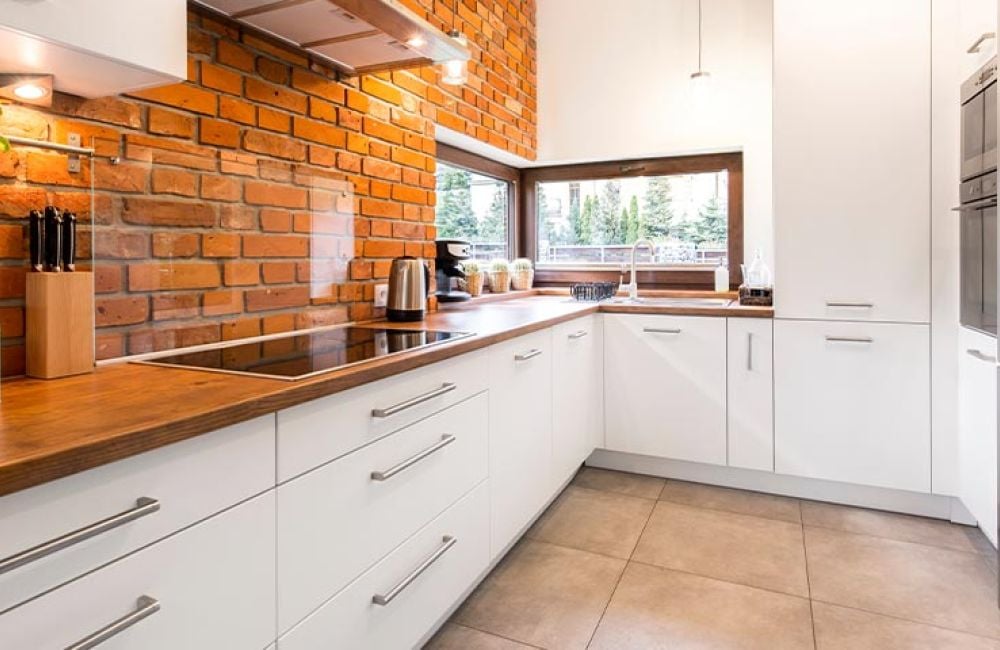
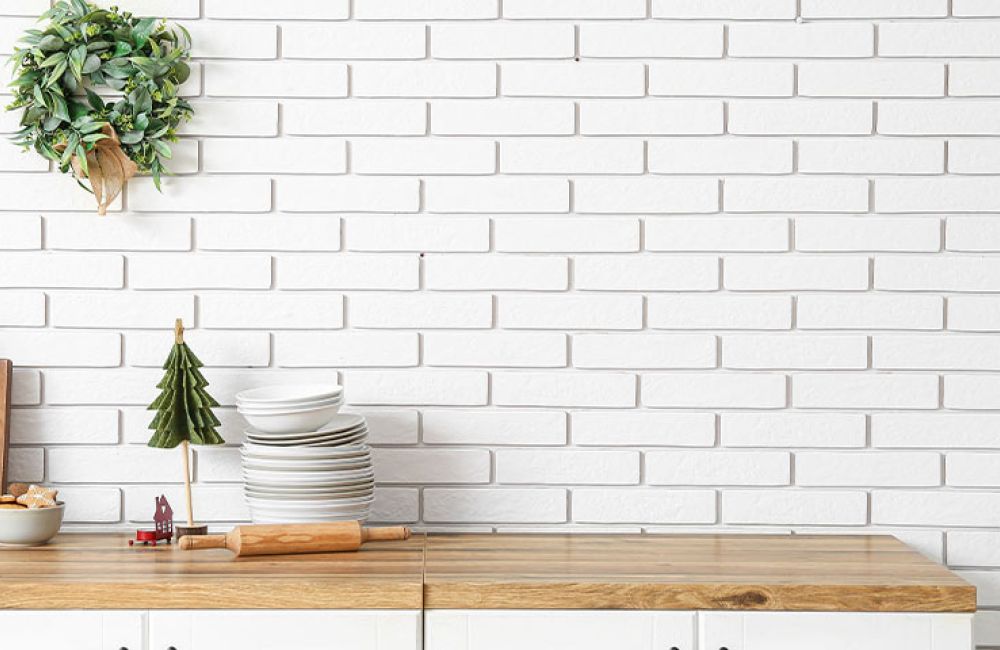
How to Update Your Kitchen’s Brick Backsplash
Much like automobiles, hairstyles, and clothing, home decor has cyclical trends. Styles, materials, colors, and finishes t… READ MORE
February 14, 2022 | Featured
How To Paint Interior Brick
Have you decided that the natural color of brick is not the right fit for your home’s aesthetic? So, we’ve discussed prev… READ MORE
November 3, 2020 | Brick, Featured
How to Install Brick Flooring
Brick flooring can truly transform a room and make it a warmer and more inviting space with the rich color and texture tha… READ MORE
November 3, 2020 | Brick, Featured
Homeowner’s Guide to Thin Brick Flooring
Thin brick, also frequently referred to as brick veneer flooring or brick tiles, are slim, high-density bricks that are de… READ MORE
September 25, 2020 | Brick, Featured
7 Ways to Update Your Interior Exposed Brick Wall
Exposed brick walls are a much-coveted interior design feature. READ MORE
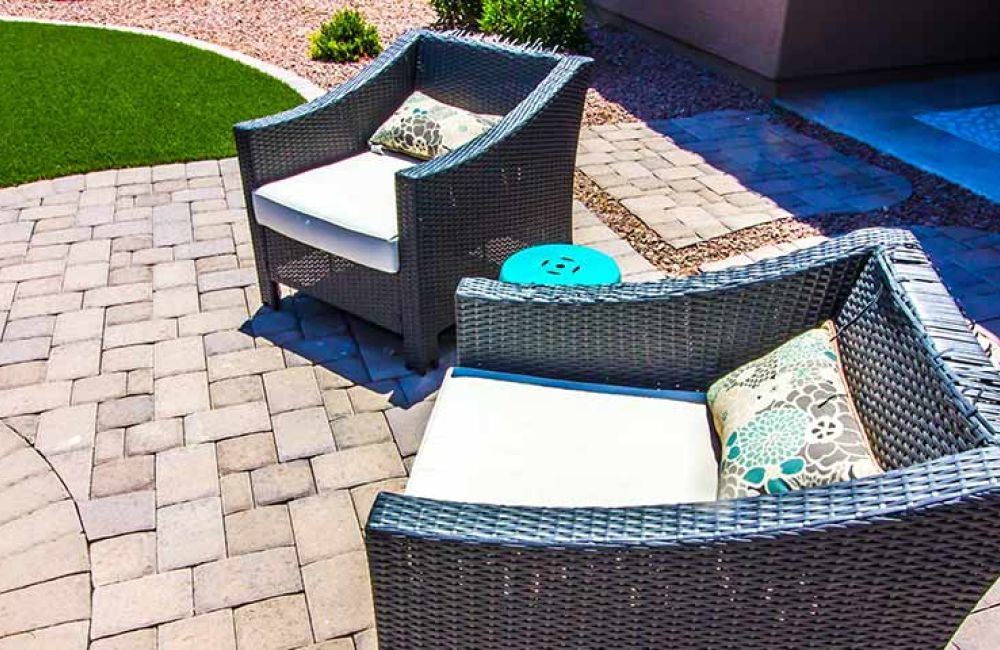
July 28, 2020 | Featured, Pavers
DIY Paver Patio
Paver patios are a popular home improvement project that many homeowners will take on themselves because it adds both form… READ MORE
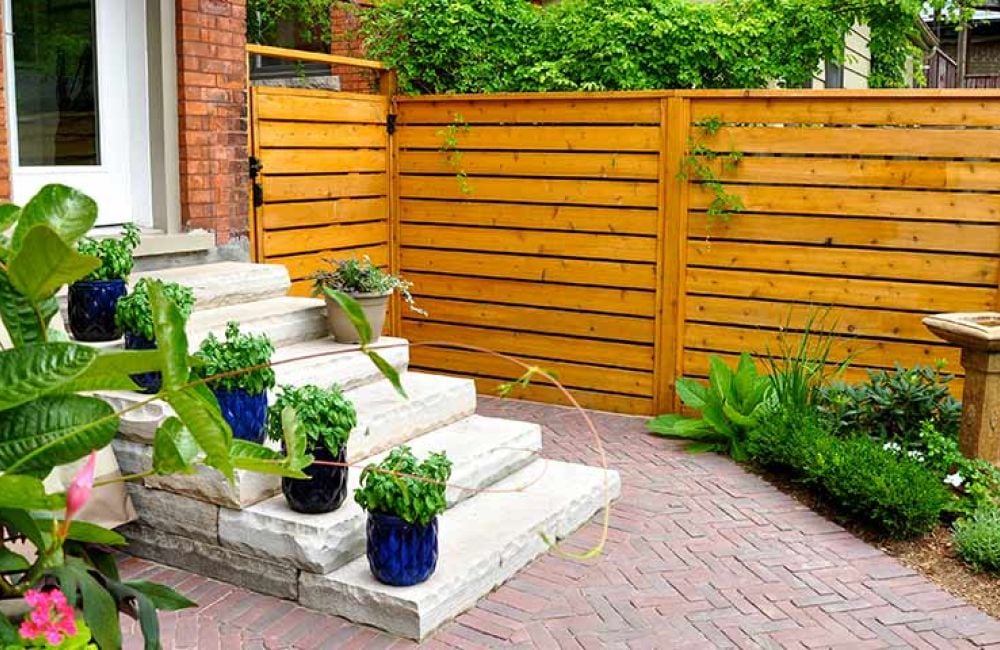
July 6, 2020 | Brick, Clay Pavers, Concrete Pavers, Featured, Pavers
Small Space Landscaping Tips
Landscaping is an extension of your house and no matter how big or small the home, it makes a big difference in the value … READ MORE
July 6, 2020 | Brick, Featured, Pavers
How to Build a Raised Brick Patio
As you’re spending more time with your family at home, you may be eager to make the most of your backyard and build a bric… READ MORE
May 27, 2020 | Featured
Outdoor Home Improvement Project Ideas
We’ve all been a little more cooped up than we’re used to and along with spending so much more time in our homes comes the… READ MORE
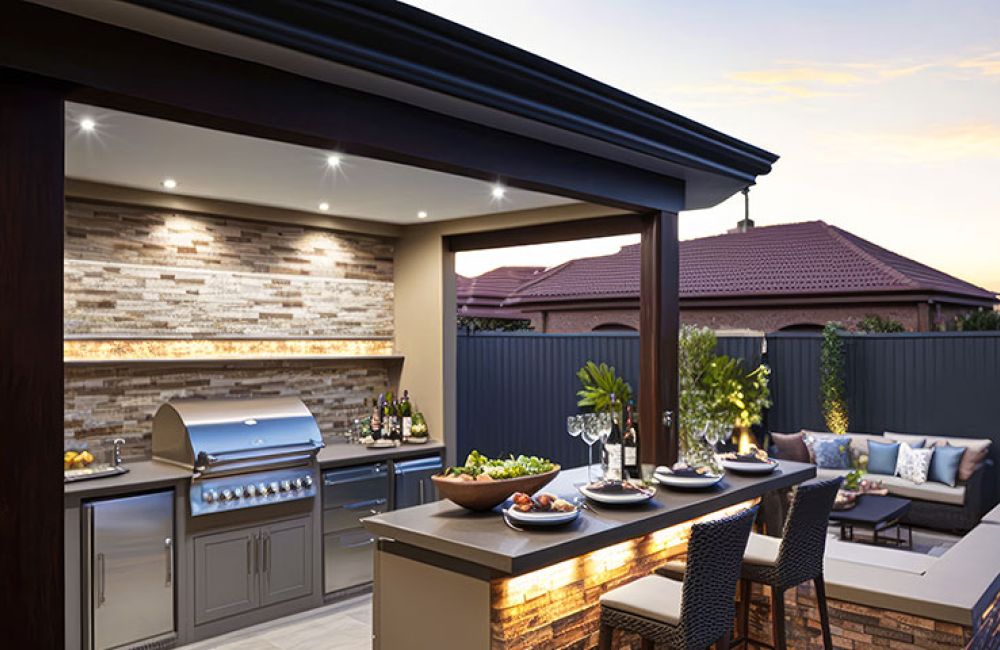
May 12, 2020 | Brick, Featured, Masonry
7 Ways to Update Your Kitchen With Brick
People usually don’t think outside of the home when it comes to brick. Most obviously it’s used for the exterior of homes,… READ MORE
1
2
3
4